Dewy and glowing skin, free of imperfections, blackheads, pimples, and grime: every woman’s ever-elusive goal. Our quest is expensive, frustrating, and often riddled with failure.
Don’t worry, it’s all over now. Take a deep breath and relax. Today…we’re cleansing with oil.
“Oil?!” you say, baffled. “Well that’s sort of counter-intuitive!”
I get where you’re coming from, I do. Earlier this week I had the same reaction. But after much persuasion from a friend of mine, I gave it a try.
Hear me out: our skin already oozes a bit of oil for protection and lubrication, but the oil that we produce gets clogged and dirty throughout the day. So we trudge home, feeling a bit icky and slick, and strip down our face with chemicals and fragrances and crap. Our poor skin is left feeling dry, desperately trying to repair its self. It’ll go into overdrive trying to replace the oils that are lost, and this often creates even more clogged pores and stress. But oil isn’t the culprit here. It’s not some mean monster to be reckoned with; our body produces it naturally, and it’s the key to beautiful, glowing skin.
So, on to the basics…you want to replace the dirty oil on your face with clean, good quality oil.
For oily skin use: 30% Castor Oil to 70% Sunflower or Grapeseed Oil
For balanced skin use: 20% Castor Oil to 80% Sunflower or Grapeseed Oil
For dry skin use: 10% Castor Oil to 90% Sunflower or Grapeseed Oil
Castor oil has potent anti-inflammatory and extractive properties, and is healing and cleansing. Sunflower and Grapeseed oils are thinner, but no less nurturing; they provide essential fatty acids which are necessary for cell membrane health, among other things.
So, get your personal oil cocktail ready. You don’t need to take off your makeup (that’s another incredible bonus – the oils will remove makeup too, even the most stubborn waterproof mascara!).
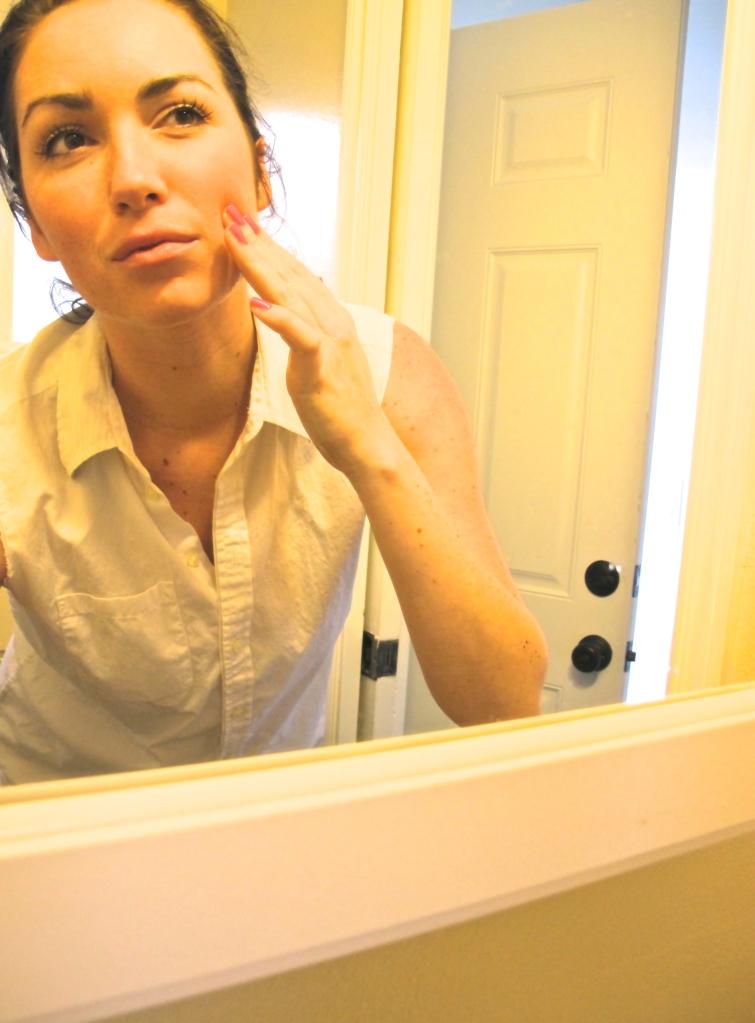
Begin massaging a good amount of oil into your skin in circular motions using your fingers. Keep going for a minute or two.
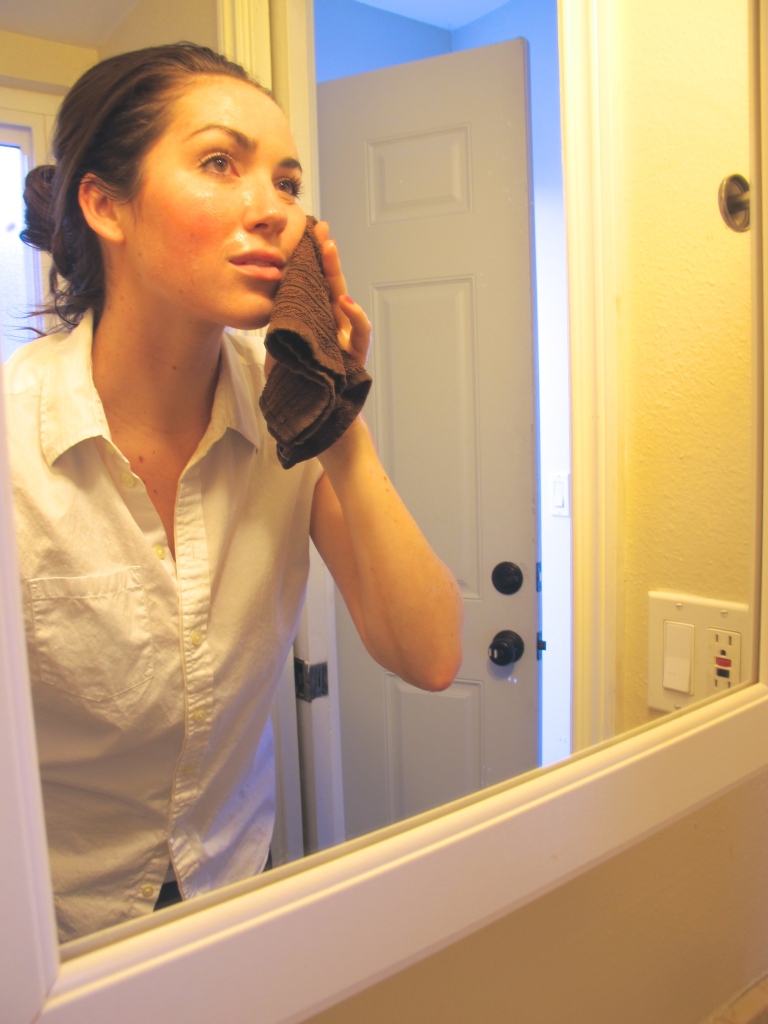
Next, douse a washcloth in piping hot water, as hot as you can take it. Wring it out (carefully), and lay it over your face. The steam will open the pores and aid in releasing any impurities. Leave the cloth over your face until it’s no longer hot.
Gently wipe the excess oil from your face with the damp cloth. Don’t rub too hard – remember that you’ve replaced the bad oils with these good ones and you want them to continue to nourish the skin.
You can repeat the steam once more, if you feel so inclined. I like to…just because it’s relaxing and I can pretend I’m at some fancy spa. After you’re all finished, you’ll be amazed at how vibrant your skin already looks, and ohhhh man does it feel like butter! If you don’t feel quite comfortable replacing your usual skincare routine with the oil cleansing method, just start by using it a few times a week as a bit of pampering!
For more information on the Oil Cleansing Method, visit this sliiiiiightly new-agey but very informative site.
Happy cleansing!
xo


